Austin Home
Custom furniture can transform an empty room, but accurate measurements determine whether that transformation succeeds. A beautiful cabinet may still block a doorway, crowd a walkway, or clash with a radiator. Learning how to measure a room for custom furniture fitting helps prevent these expensive and frustrating mistakes.
Professional designers measure more than wall length and room width. They record ceiling height, skirting-board depth, window positions, door swings, electrical outlets, vents, and fixed heating units. They also measure the route into the room, including hallways, staircases, lifts, and narrow corners. A sofa that fits the living room may not pass through the entrance.
Details matter.
This guide presents seven practical tips for creating a reliable measurement plan. It explains how to use a steel tape, laser measure, paper sketch, and clear reference points. Experienced fitters usually measure each wall twice because floors and walls are rarely perfectly straight. I once trusted a single wall measurement and missed a small alcove by several centimetres. That error changed the entire design.
Careful planning also leaves space for installation, ventilation, cleaning, and daily movement. Photographs can support written measurements, but they should not replace them. Marking every obstruction may feel excessive, yet those notes often protect the final result. Even careful measurements can contain small uncertainties, so confirming key dimensions with the furniture maker remains wise. Reliable fitting begins before the furniture is built.
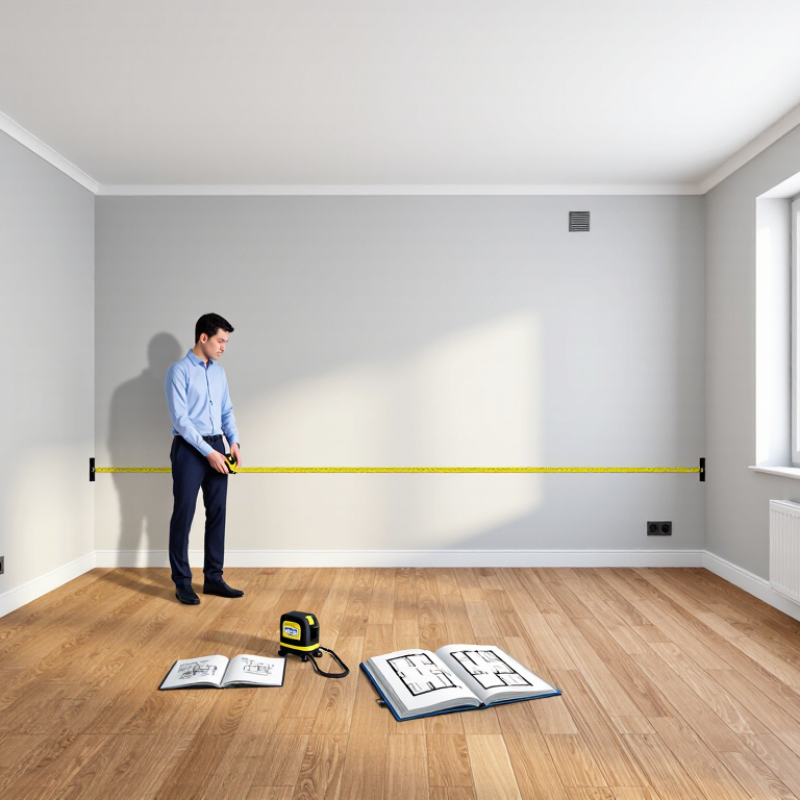
Before measuring for custom furniture, define the room’s actual shape. Do not assume it is a perfect rectangle. Older walls may lean, bow, or narrow near the ceiling. Stand at the doorway and sketch every wall, corner, opening, and alcove. Mark doors, windows, radiators, sockets, switches, vents, and skirting boards. These details can change the usable depth by several centimetres.
Measure each wall along the floor, halfway up, and near the ceiling. Record the smallest width where furniture must fit. Measure ceiling height at several points, especially beneath beams or sloped sections. Use a tape measure for short distances and a laser tool for longer walls. However, check laser readings with a second method. Small errors become expensive when cabinets meet tightly.
Create clear measurement points on your sketch. Label them A, B, and C, then record the distance between each point. Measure from fixed boundaries, such as a corner or door frame, rather than loose furniture. Note whether trim will remain or be removed. I once measured from a thick skirting board and lost valuable depth. That mistake was avoidable. Recheck diagonal distances across the room, because unequal diagonals reveal walls that are not square. Leave a practical installation tolerance, but confirm it with the furniture maker before ordering.
Measure the room before ordering custom furniture. The 2024 U.S. Houzz & Home Study places the median major kitchen renovation at $60,000, so small fitting errors can become expensive.
Measure width at the floor, midpoint, and ceiling line. Record the smallest result. Repeat the length measurement from both directions.
Note door swings, skirting boards, radiators, sockets, and trim. I once trusted a single wall reading. That shortcut was wrong.
Measure ceiling height in at least three locations, especially near corners. Record the lowest point, not the most convenient one.
Check floor levels with a long spirit level or laser level. Write down every dip, rise, and transition.
ACI 117-10 commonly references FF 25 and FL 20 for conventional concrete floors, although site conditions may require tighter control. ASTM E1155 provides the testing method behind these floor-flatness and floor-levelness measurements.
Photograph each measurement with a visible tape or laser display. Keep a simple sketch with millimetres and clear wall labels.
Add at least 10 millimetres of installation clearance where walls are uneven. Check whether flooring, rugs, or future wall panels will change the finished height.
Measure the access route too. Corridors, lifts, and stair turns can defeat perfect room measurements. Recheck unusual corners.
A second visit may feel excessive, but furniture rarely forgives optimistic numbers.
Measuring for custom furniture is not only about wall length. Doors, windows, vents, radiators, switches, and ceiling fixtures can decide whether a cabinet enters or functions properly. Record each opening’s width, height, and swing direction. Then measure from the nearest corner, not from another opening. The 2024 National Kitchen & Bath Association Planning Guidelines recommend about 36 inches for a comfortable work aisle and 42 inches for a single-cook aisle. These figures are useful checks, even outside kitchens. Do not treat them as universal rules.
Access measurements deserve equal attention. Measure the entry door, hallway width, stair landing, lift interior, and the tightest turn. Include handles and door closers. A 30-inch doorway may offer less usable clearance when the door is open. Measure window trim depth, sill height, curtain tracks, and nearby outlets. Photograph every wall with a tape measure visible. It helps reveal details missed in written notes. I once underestimated a skirting board by a few millimetres; the furniture fitted, but the door rubbed. That mistake was avoidable. Recheck measurements at least twice, ideally at different times of day, because lighting can hide projections and uneven floors. Account for packaging too. A perfect room measurement cannot rescue an impossible delivery route.
These typical U.S. residential planning dimensions help identify doors, windows, fixtures, and access constraints before fabrication. Actual site measurements should always be used, including trim, handles, radiators, baseboards, and the clearance needed to move furniture into the room.
Accurate custom furniture fitting starts with a room map, not a tape measure alone. Record wall lengths, ceiling height, doors, windows, outlets, radiators, and trim. Measure each wall twice. Small errors can become costly.
Mark every clearance zone before choosing furniture. Include door swings, window openings, heating areas, and cabinet access. Keep main walkways near 90 centimetres wide where possible. Leave extra space near dining chairs and frequently used storage. A sofa may fit on paper, yet block a doorway when fully placed. Measure the furniture footprint, then add movement space around it. Sketch placement areas with removable tape on the floor. This makes awkward proportions immediately visible. Photograph each wall and label the images with measurements. It helps prevent confusion during installation.
Check corners for uneven walls and floors. A laser level improves accuracy, but a straightedge can reveal practical problems. Measure narrow passages, stair turns, lifts, and entrance doors before ordering large pieces. Do not trust a single diagonal measurement. I have seen rooms appear square until a wardrobe meets a sloping corner. Allow a small tolerance for plaster, skirting, and installation adjustments. That allowance may feel excessive. It is often the difference between a clean fit and forced placement. Recheck the plan after removing existing furniture, because hidden outlets and damaged flooring can change the usable zones.
| # | Measurement Tip | What to Measure or Map | Useful Planning Dimension | How to Apply It to Furniture Placement | Common Mistake to Avoid |
|---|---|---|---|---|---|
| 1 | Record the room shell accurately | Measure overall wall-to-wall length and width at floor level. Recheck near the ceiling if walls may be out of square. | Measure to the nearest 1/8 in (3 mm) |
Use the smallest confirmed dimension when sizing built-ins, wardrobes, cabinets, or wall-to-wall furniture. | Using a single rough measurement and overlooking bowed walls, alcoves, columns, or chimney breasts. |
| 2 | Map doors, windows, and openings | Record opening width, height, trim depth, sill height, swing direction, and the distance from each opening to the nearest corner. | Keep furniture outside the door-swing arc; allow about 2–4 in (50–100 mm) from trim where practical |
Mark the full operating zone on the floor plan before placing tall storage, desks, benches, or sofas. | Measuring the visible glass or door slab instead of the complete trim-to-trim and swing clearance. |
| 3 | Establish main walkways | Draw routes between the room entrance, seating, storage, windows, and adjoining rooms. | 36 in (914 mm) minimum for a comfortable primary path; 42–48 in (1,067–1,219 mm) for busier routes |
Keep sofa corners, table edges, cabinet handles, and protruding legs outside the marked circulation corridor. | Creating a visually open room while leaving an actual walking route that is too narrow for everyday movement. |
| 4 | Map furniture clearance zones | Measure the space needed to sit down, stand up, open drawers, pull out chairs, and use doors or recliners. | 18 in (457 mm) typical seating-to-table gap; 36 in (914 mm) or more behind a dining chair when circulation is required |
Include the moved or opened position of furniture, not just its closed footprint, in the plan. | Ordering furniture based only on its width and depth without allowing for movement around it. |
| 5 | Measure vertical and overhead conditions | Record ceiling height, beams, soffits, vents, radiators, outlets, switches, and wall-mounted fixtures. | Leave at least 2 in (50 mm) around fixed obstructions when ventilation, heat, or service access is required; confirm appliance or equipment requirements separately |
Use the lowest ceiling height and the deepest obstruction when setting the maximum height and depth of custom furniture. | Designing a tall unit to the nominal ceiling height without accounting for uneven floors, crown molding, or beams. |
| 6 | Check delivery and installation access | Measure the narrowest point of the route from the property entrance to the room, including hallways, stair landings, and turns. | Compare the narrowest opening with the largest packaged or assembled dimension; allow turning space at corners |
Choose modular, knock-down, or site-assembled construction when a finished piece cannot pass through the measured route. | Confirming that furniture fits inside the room but not checking whether it can reach the room. |
| 7 | Create a scaled placement plan | Plot walls, openings, fixed services, furniture footprints, clearance zones, and walking paths on one plan. | Use a consistent scale such as 1:20; 1 cm on the plan represents 20 cm in the room |
Test multiple layouts before ordering, then verify critical dimensions on site with masking tape or full-size templates. | Relying on visual estimation and forgetting that furniture dimensions may vary by frame, upholstery, doors, or hardware. |
| Planning note: These dimensions are practical residential planning guidelines, not a substitute for local accessibility, fire-safety, building, or manufacturer requirements. Confirm final clearances with the applicable local code and the furniture maker before fabrication. | |||||
Verify every measurement before ordering custom furniture. A small error can become an expensive installation problem. Houzz’s 2024 U.S. Houzz & Home Study reported a median renovation spend of $24,000 in 2023. Accurate planning protects that investment.
Measure room length, width, and ceiling height twice. Record the smallest width near walls, not only the center. Check door, window, radiator, outlet, and vent positions. Measure hallways, stair turns, and elevator openings as well. Mark skirting boards and uneven floors. Use a steel tape, then confirm key dimensions with a laser measure. Write measurements in one unit only. Centimetres are usually safer than mixed units. Label every wall with a simple sketch.
Do not trust memory. Take dated photographs. Verify diagonal wall-to-wall distances, because a room may not be perfectly square. Allow clearance for drawers, doors, walking paths, and cleaning. RICS measurement guidance stresses consistent measurement points and clearly stated assumptions. Follow that discipline. Furniture-fit specialists often request site dimensions before production, but customer measurements still need checking. I once missed a low window ledge by a few centimetres. The drawing looked correct. It was not. Ask another person to repeat the critical measurements. Compare both sets before ordering. If they differ, measure again. That pause is cheaper than altering a finished piece.
Small errors can cause expensive fitting problems. Measure before committing.
Measure at floor level, midway up, and near the ceiling. Record the smallest result.
Measure in at least three places, especially near corners. Use the lowest measurement.
Mark walls, doors, windows, outlets, radiators, trim, and floor transitions. Use millimetres and clear labels.
Allow at least 10 millimetres where walls or corners are uneven. More may be sensible.
Keep main walkways near 90 centimetres where possible. Add space near dining chairs and storage.
Mark the furniture footprint with removable floor tape. Add door swings, chair movement, and cabinet access zones.
Check entrance doors, corridors, lifts, stairs, and turning points. A perfect room measurement may still fail during delivery.
Photograph each measurement with the tape or laser display visible. Recheck unusual corners and hidden outlets.
Not always. My single wall reading once proved wrong, so a second check is worthwhile.
Measuring a room accurately is the foundation of a successful custom furniture installation. This guide explains how to measure a room for custom furniture fitting by first identifying the room’s shape, boundaries, corners, and key measurement points. Record the room’s width, length, and height in several locations to detect uneven walls, sloping ceilings, or floor-level variations. These details help ensure the furniture will fit comfortably and look balanced within the space.
You should also measure doors, windows, stairs, hallways, vents, radiators, sockets, and other fixed features that may affect delivery or installation. Map clearances around each feature, including walkways, opening areas, and the intended furniture placement zone. Finally, review every measurement, confirm the units, and check the room from multiple angles before placing an order. Careful verification can prevent fitting problems, improve accessibility, and support a smoother custom furniture project.
